Voltage Meter Tutorial

Interested in making Voltage Meters for your fellow players to use to mark their completed trades on their trade post? This tutorial provides guidelines and tips for how to edit the template to make your own! After you're finished making your meters, feel free to donate them on our Dreamwidth community for a nice set of rewards!
Before you begin...
- This is a tutorial that uses Photoshop, and the template is a .PSD file. The screenshots and directions below are for Photoshop CC, but the file should open fine in any program that can read .PSD files. If there are major differences in the program you're using, please feel free to contact us and let us know so that we can add them to this page!
- Meter donations must use the provided template and adhere to Module's content and donation guidelines to be eligible for rewards, sharing, and inclusion on the site. You can use your own template or images if they're for your personal use.
- After submission, Voltage Meters will be available for download on our website for other players to use.
Using the Template
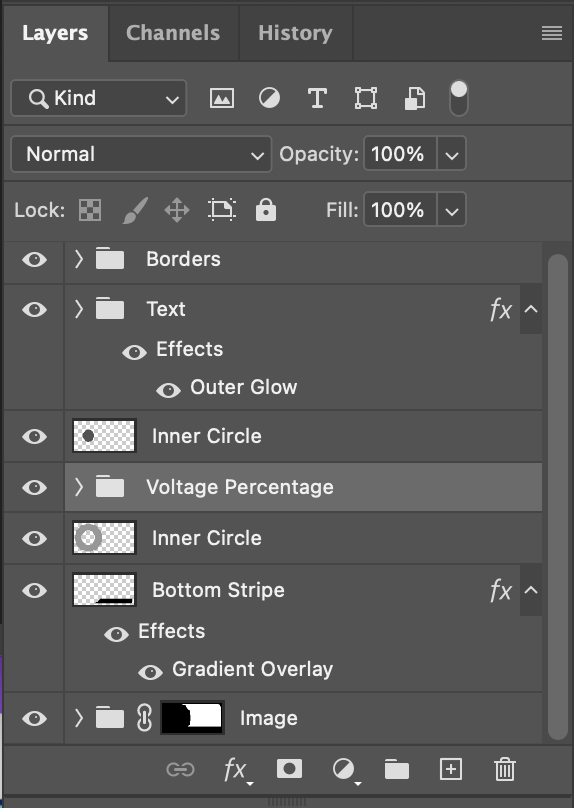
Upon opening up the template, you will see a collection of layers for different elements of each Voltage Meter: borders, text, meter percentages, the inner and outer circle backgrounds, the bottom stripe, and the image layer. They are arranged in folders to make editing easier.
The bottom stripe uses a gradient overlay for the color formatting, similar to Module's cards and decks. The bottom of the gradient is usually the darker color, and the top of the gradient is the lighter color. You can edit the gradient by right-clicking on the layer named Bottom Stripe and selecting "blending options".
The text layers use a 1 px outer glow effect to create a stroke around the text. Typically, the stroke color should be the same as the bottom gradient, but you can change that rule if you want!
The borders use a color overlay effect layer. You can change the color of the border by editing that layer. Similar to the text, the color of the border is usually the same as the bottom gradient color, but feel free to change it if you'd like.
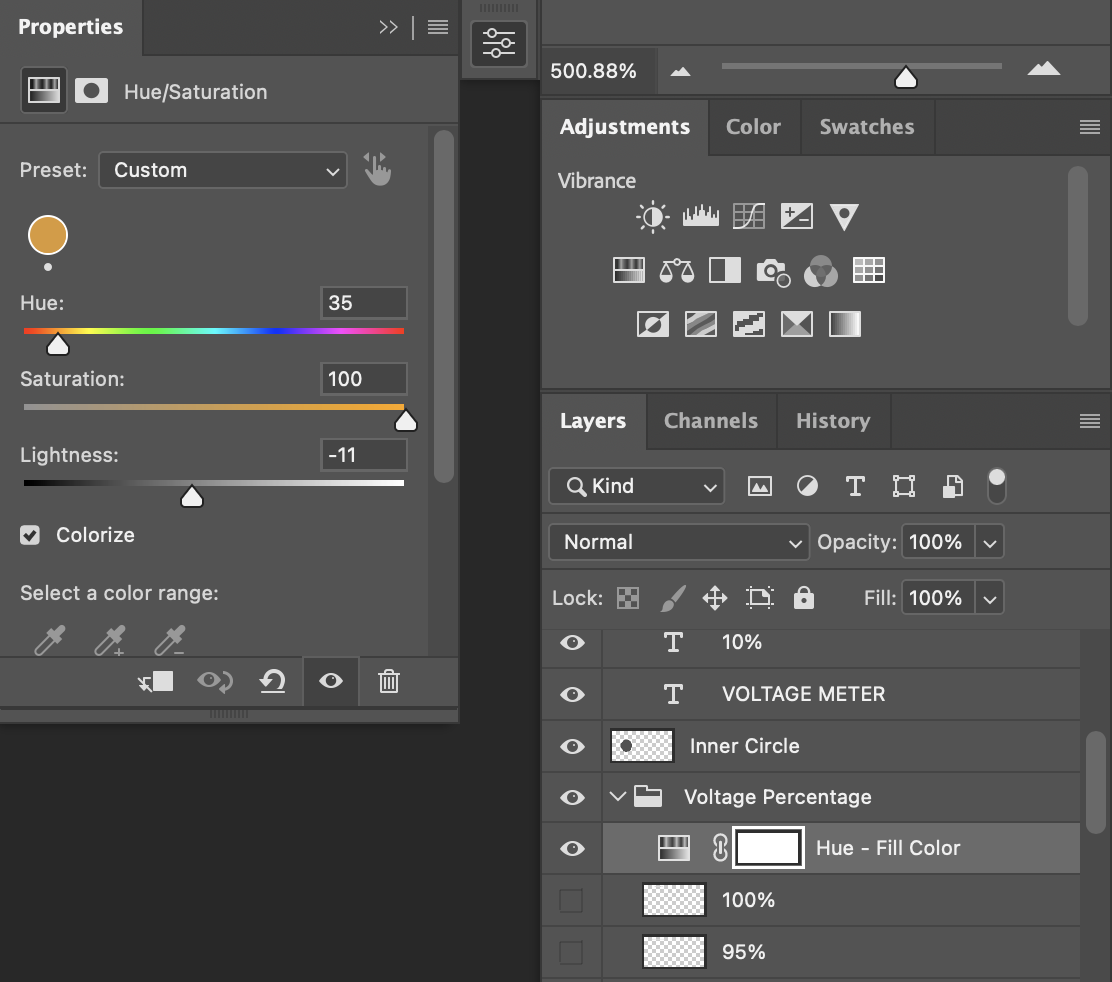
The meter percentages folder consists of 20 different slices for the circle, each in 5% increments. There are more details on how to use this layer in the Saving and Exporting section, but to change the color of the layer, you can change the settings of the Hue layer that sits at the top of the folder. Play around with the hue and saturation sliders until you find something that you like! All of the meter percentage circles will be edited at once as you change this layer.
The image folder has a layer mask applied to it so that the image will only show up to the right of the circle; no part of the image will overflow into other parts of the meter as long as the layer is nested within that folder. You can edit the image however you'd like to fit with your meter!
Finally, the inner and outer circle layers are the backgrounds for both the outer circle (where the meter percentage fills in) and the inner circle (where the text is placed). These shouldn't be edited at all, so you can leave them as they are.
Feel free to play around with any of the colors that you'd like to make your meter truly yours!
Saving and Exporting
Once you've finished editing the image and colors you'd like to use for your Voltage Meter, it's time to increment the meter. There are two major parts to this: meter percentage and text editing.
The large colored circle of the meter indicates how many trades the player has completed and increases with every trade. There are layers for every 5% of the meter sliced into 20 parts. First, hide all of the layers in the "Meter Percentage" folder, edit the text in the center of the meter (found under the Text folder) to say 00%, and save that image as vm-player##-00.png where "player" is your name and ## refers to how many meter sets you've submitted total. (For example, the 0% image of Noelle's second submitted meter would be named vm-noelle02-00.png.)
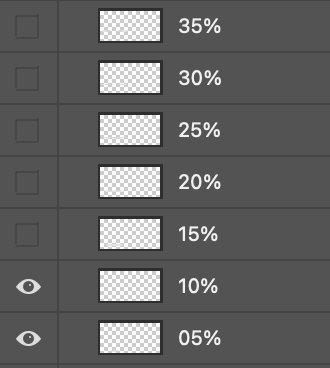
Next, unhide the 05% layer at the very bottom, edit the text to say 05%, and save that as vm-player##-01.png. Then, unhide the 10% layer while keeping the 05% visible, edit the text to 10%, and save it as vm-player##-02.png. Keep unhiding each of the percentage layers one at a time until 100%, where all of the circle should be filled in. Make sure to save every image along the way so that you end up with the meter fully filled and the text reading 100%.


When you're finished saving every image, you should have 21 total images in the folder - one each for meter percentages from 00% to 100%. And that's it! You can then zip the file and submit it for rewards to share it with your fellow players!